tutorial 1 - selecting ( 26 june 2011, sunday )

- I used Quick Selection Tool to select on the picture. I choose the part that i wanted. Then, I use the Move Tool to move the picture from right to left.
- Zoom Tool being used to zoom in the picture , so that i can see clearly and Alt Zoom to zoom out the picture.
-Besides, i used Ctrl-T to resize the picture to make it bigger...

same method used as above...

- I used Quick Selection Tool to select on the picture. I choose the part that i wanted. Then, I use the Move Tool to move the picture from right to left box.
- Zoom Tool being used to zoom in the picture , so that i can see clearly and Alt Zoom to zoom out the picture.
-Besides, i used Ctrl-T to resize the picture to make it bigger...
![]()
- i choosen this picture and im gonna crop it..
![]()
![]()
Lastly, the same method being used. Rectangular Marquee Tool to select on the picture and then Move Tool to drag the picture from right to left box.
![]()
final work.. and i saved it using JPED..
Tutorial 2 : layering (2 july 2011, saturday )

- i choosen this picture and im gonna crop it..
-i used the Crop Tool to cut down the part i wanted..

- this is it. Then, Zoom Tool to zoom in and i used the Rectangular Marquee Tool to select the picture.
- then used Move Tool to drag the picture from right to left box.
-Besides, i used Ctrl-T to resize the picture to make it bigger....

Lastly, the same method being used. Rectangular Marquee Tool to select on the picture and then Move Tool to drag the picture from right to left box.
final work.. and i saved it using JPED..
Tutorial 2 : layering (2 july 2011, saturday )
hi all, im here again.. :D today, im going to post up what i learnt few days ago.. well, here there are.. :D
![]()
![]()
![]()
the combination of the 2 pictures....
![]()
![]()
![]()
![]()
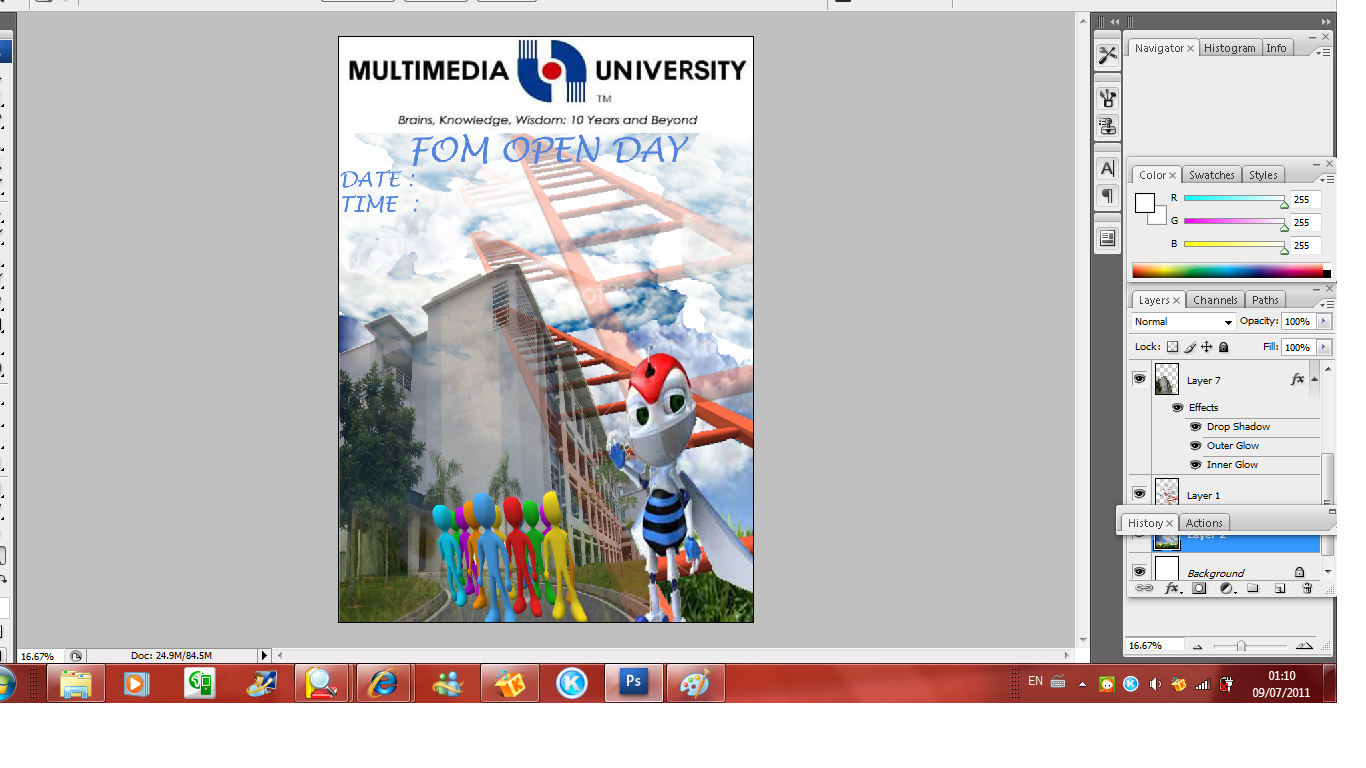
![]() this is it.. i added some text inside.. :D before i finalise my e-wallpaper.. i made some changes on the FOM Building.. i used inner glow, inner shadow and drop shadow to make the bulding more onto transperency - opacity around 75 %.. xDD so, the Stairway to the Succeed looks clearer.. well, here it is..
this is it.. i added some text inside.. :D before i finalise my e-wallpaper.. i made some changes on the FOM Building.. i used inner glow, inner shadow and drop shadow to make the bulding more onto transperency - opacity around 75 %.. xDD so, the Stairway to the Succeed looks clearer.. well, here it is..
![]()
tutorial 3 - retouching and enhancing digital photo
im here againnn... well, today im going to edit my wallpaper using tutorial 3 n 4..
![]()
![]()
![]()
![]() b4 submitted the wallpaper, i decided to add some effects.. filter -> render -> lens flare... showing some blink blink effects.. :DD
b4 submitted the wallpaper, i decided to add some effects.. filter -> render -> lens flare... showing some blink blink effects.. :DD


firstly, i add on 1 new picture for my wallpaper.

Stairway to the Succeed!!!!!!!!!!!!!!!!!!!!!

same method being used - quick selection tool, zoom tool, move tool...


i changed the FOM buliding.. coz i think this is more suitable... by using the same method, quick selection tool, move tool and zoom tool.. the wallpaper is half way done.. :DD

then, used back the same picture as last tutorial.. just that i changed my plan, i just drag out the words i wanted by using quick selection tool , move tool.. besides, to make the words more clearer, i used Colour Balance...

e-bee added in.. :DD

uni 's name added in.. :DD


tutorial 3 - retouching and enhancing digital photo
im here againnn... well, today im going to edit my wallpaper using tutorial 3 n 4..

firstly, i used clone stamp tool to make some effect on the stairway.. i make it looks like some called 'shadow'.. haha.. so, we will notice that there are few layers ...
i deleted the previous picture coz i think the colour not that nice.. so, i replaced it by the colourful picture.. using the same tools, quick selection tool to drag the pattern i wanted.. n there it is..
this is it.. hmm.. there is a place looks imperfect.. one side of 'yellow man' gone..
make it looks better, i used the Clone Stamp Tool to retouch it.. firstly, i press alt + mouse click on the place where i wanna use to cover up the imperfect place.. den, i click on the place where i want to repair it.. finally , i able to do it although its not so perfect... well, here's the result..
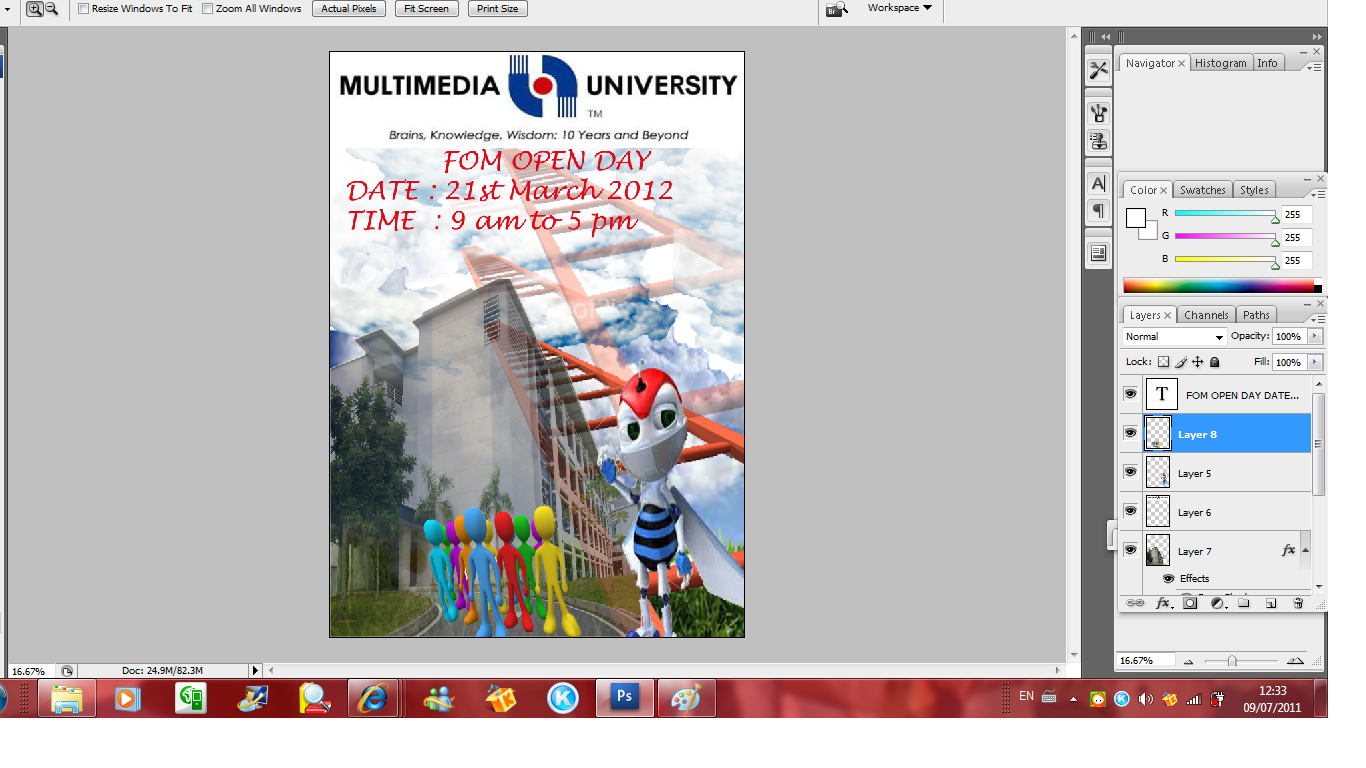
this is it.. :) Horizontal Type Tool being used to add on some words..
finally, jpeg file again n ready to upload.. heres the final result..

tutorial 5 - advanced layering ( 21 july 2011, thurs )

the previuos work done... today, im going to continue on my last tut.. advanced layering....
1st.....choose image...

the picture i chose for clipping...
heres the results...
1st, i double click on the Layer so that i can unlock it and drag to the area the i wan to clip on it...
afterthat, used ctrl-t to resize the image until it covered the area i wan ...
then, go to the tab => layer -> create clipping mask..talaaa.. :Dfinal results:
